Hi everyone!
I've started experimenting with Blender. I'm trying to rebuild a 2D design i made into 3D. The process is already well underway because i waited for the new forum to launch before starting a thread.
The "original":
Some working shots of the 3D version (work in progress, obviously):
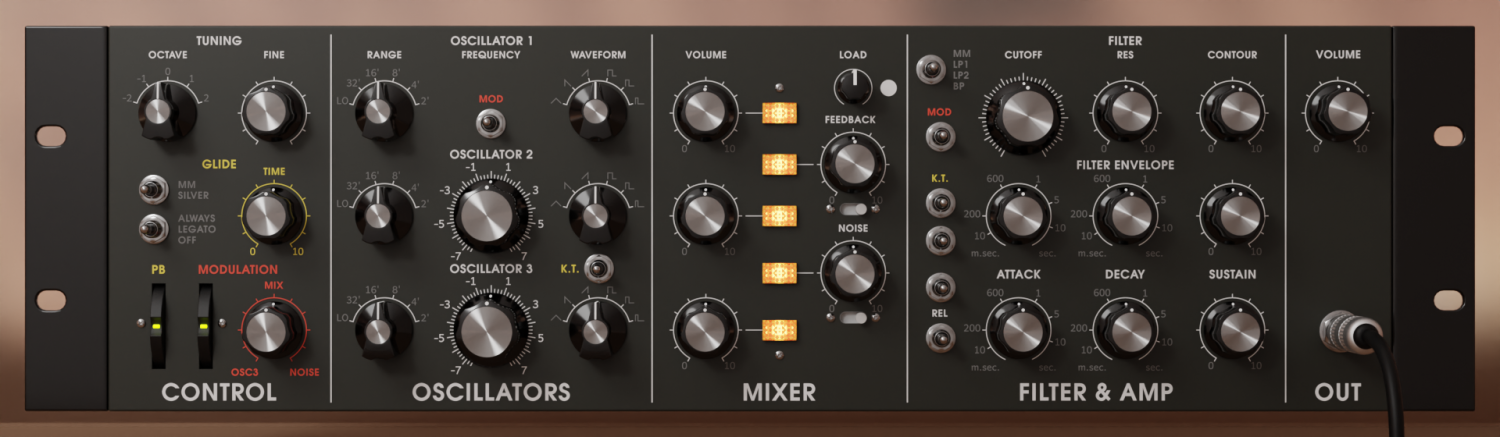
The idea is to, when everything is built up, render each panel element separately so that what you will see in Reaktor is a top view like this, with all the controls in perspective view.
Like so:
Still plenty of work to do on this before i can start to try rendering and compositing, but so far it's going pretty good.
I don't have many details right now, and i'm learning as i go, but more later.
Feel free to ask me anything.
Greets,
Peter